
Like all babies at some point, my child developed a love for paper. Well, as much as he needs fiber in his diet I'm sure, I don't think he needs to get it by eating paper. This upsets him--especially on those days when mom and dad are playing with cards. I decided he needed some cards, too.
I made some quick and easy, nearly waterproof, durable cards just for him.

First I found some animal pictures by searching under Creative Commons on Flickr. Second, I put them in a Word file and made them identical in size. Third, I went to FedEx to have them printed on cardstock, laminated, and cut out with a margin of laminate around the edges. It was quite inexpensive--if I remember correctly it cost under five dollars.
I suggest leaving a large enough edge of laminate around your picture so that you will be sewing only through the laminate and not the laminate and paper. This will probably keep your pictures from soaking up any moisture and rippling. (I didn't do this, so I can't vouch for it.) If you try it and it works, let me know!
Now I wanted to be sure my son's little gums wouldn't be cut up by the sharp laminated edges of his cards, so the next steps involve sewing fabric onto them. This is the slightly more complicated part, and if you look closely you will notice I decided not to be a perfectionist about this. After all, my baby just wanted to eat them, so who cares if my stitches are perfect? He sure doesn't and he's who matters in this case.
You'll have to excuse my lack of sewing expertise.
Fourth, cut rectangles of fabric that are significantly larger than your card. You need to be able to fold the fabric over and under itself to make a clean edge over and against the card. Fifth, sew the fabric around your card. You're basically sewing a hem on your card. This will prevent your fabric from fraying and will cover the sharp edges and corners of the cardstock to protect your baby's gums.
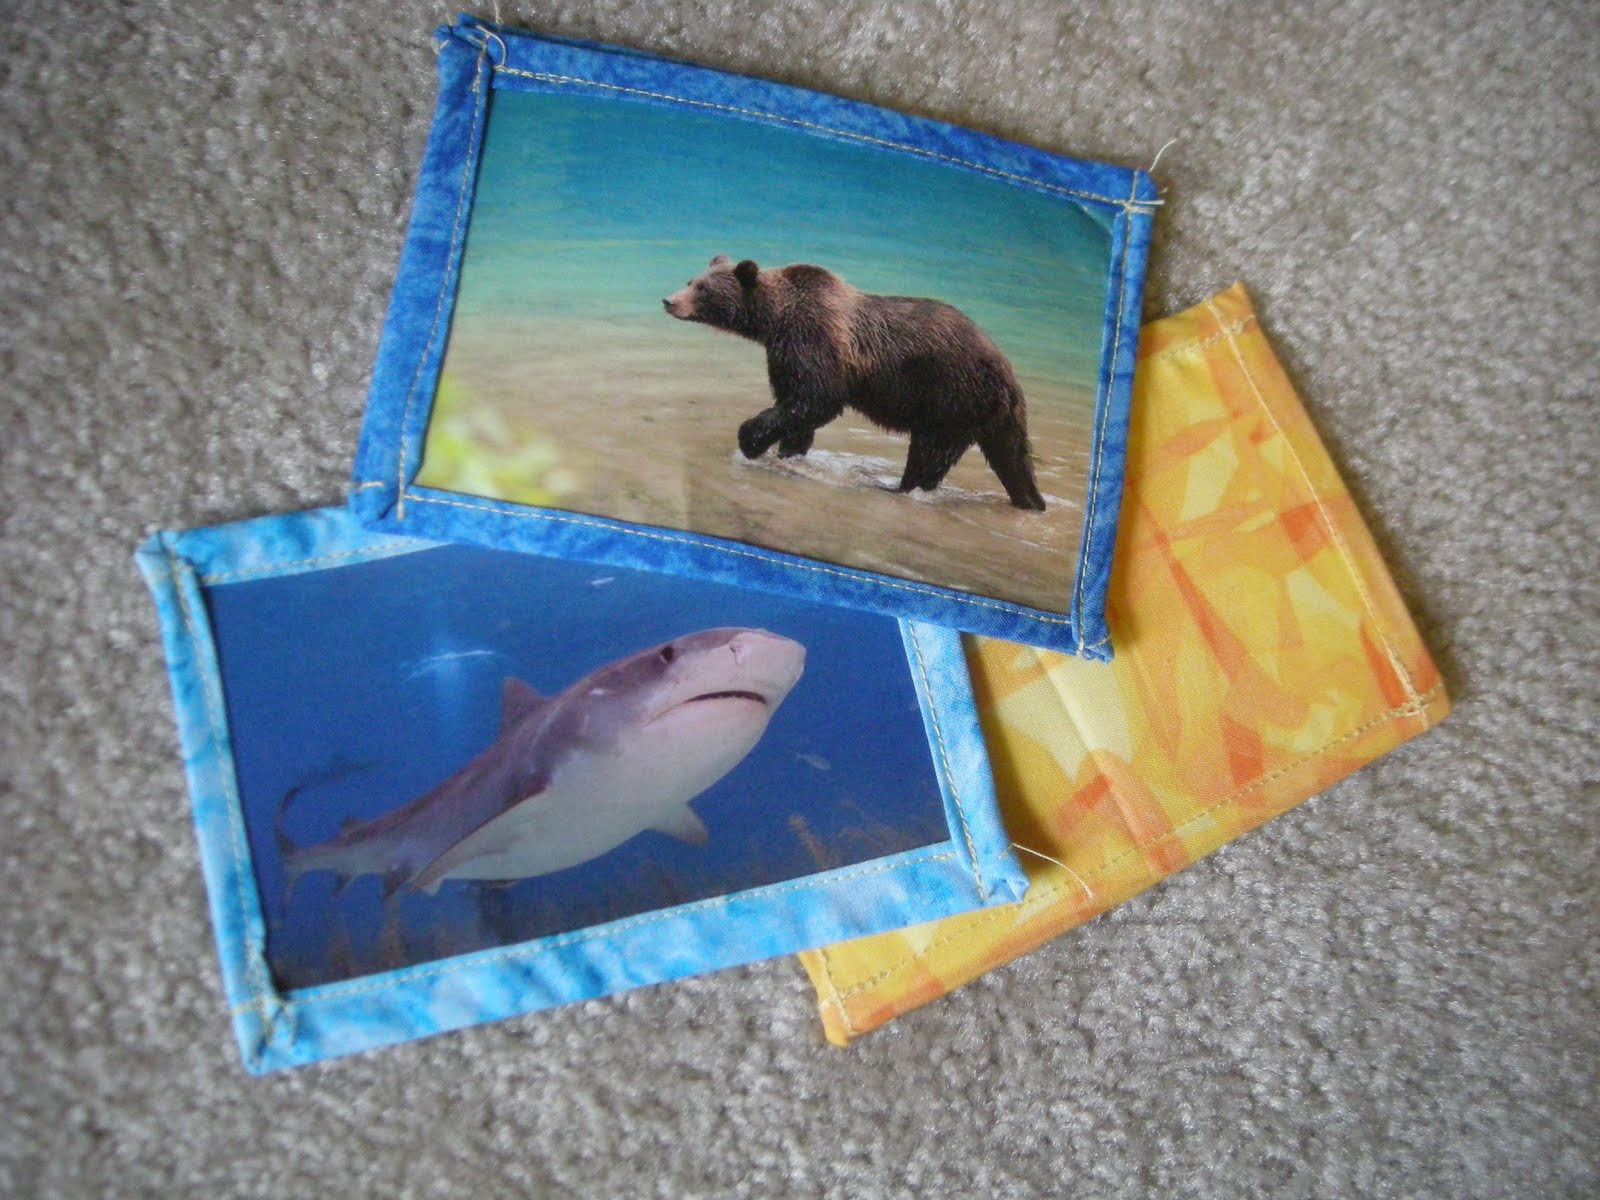
I sewed two parallel sides of the card first and then sewed the perpendicular sides. By doing this I was able to sew the corners after I had folded them in like I would when wrapping a present. I wasn't very particular about my sewing or the cutting of my fabric, so my stitching lines aren't always the straightest. I was also hesitant to press my edges which would have made this step super easy! But I was worried about the hot iron melting the laminate.
My son loves these cards. The laminate makes them basically waterproof, but the sewing punches little holes in the laminate and paper so that moisture can get in. Some of my cards are slightly rippled because my son chews and sucks on his cards (which is what I made them for). They do serve their purpose, though, and the laminate and sewing have kept them together.


